


Bring the Look of Marble Into Your Home — Without the Hefty Price Tag

Imagine walking into your kitchen and seeing a continuous, glossy marble slab behind the stove — the kind of elegant, custom feel usually reserved for high-end renovation budgets. Now imagine achieving that effect with an easy DIY project, in a weekend, without the mess or cost of installing real stone.
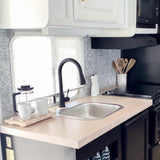
That’s exactly what Panels by Smart Tiles offers: seamless, marble-look panels you can install yourself, creating the illusion of real marble — but at a fraction of the expense.
What Exactly Are Panels by Smart Tiles?
These panels are engineered to fit standard kitchen layouts and to align perfectly with one another, so when installed in the right sequence, the marble pattern “flows” naturally across the surface. You get a continuous, seamless design instead of visible seams or patchwork joins.
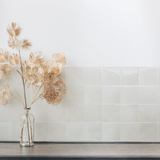
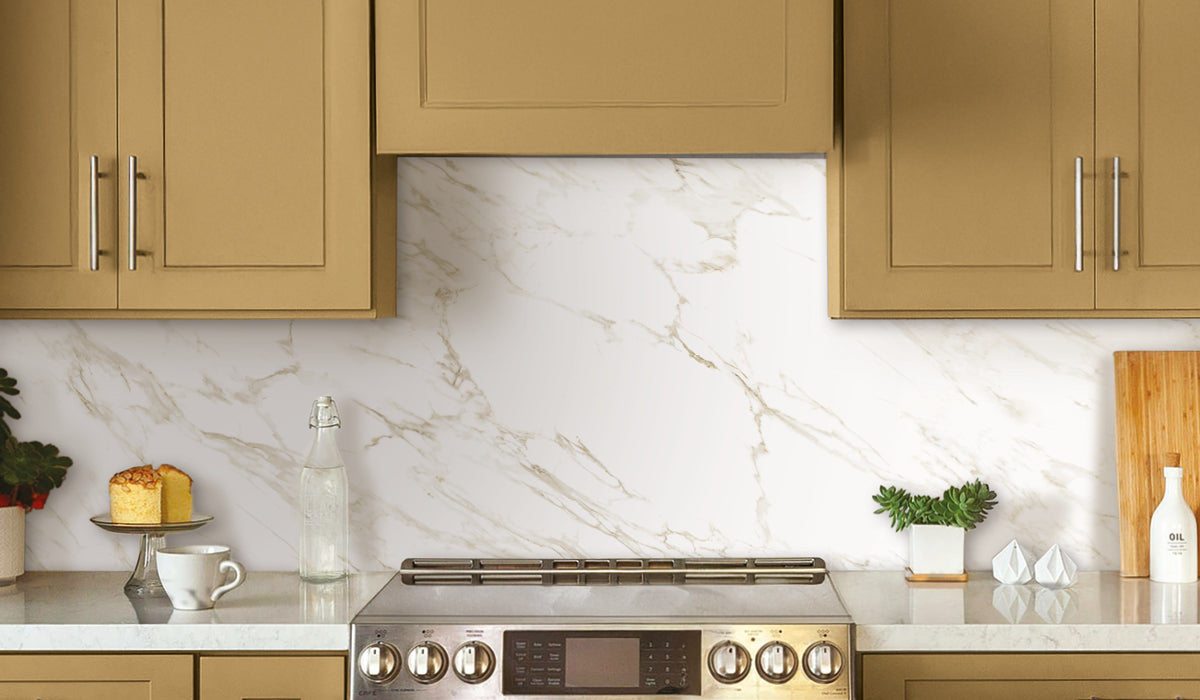
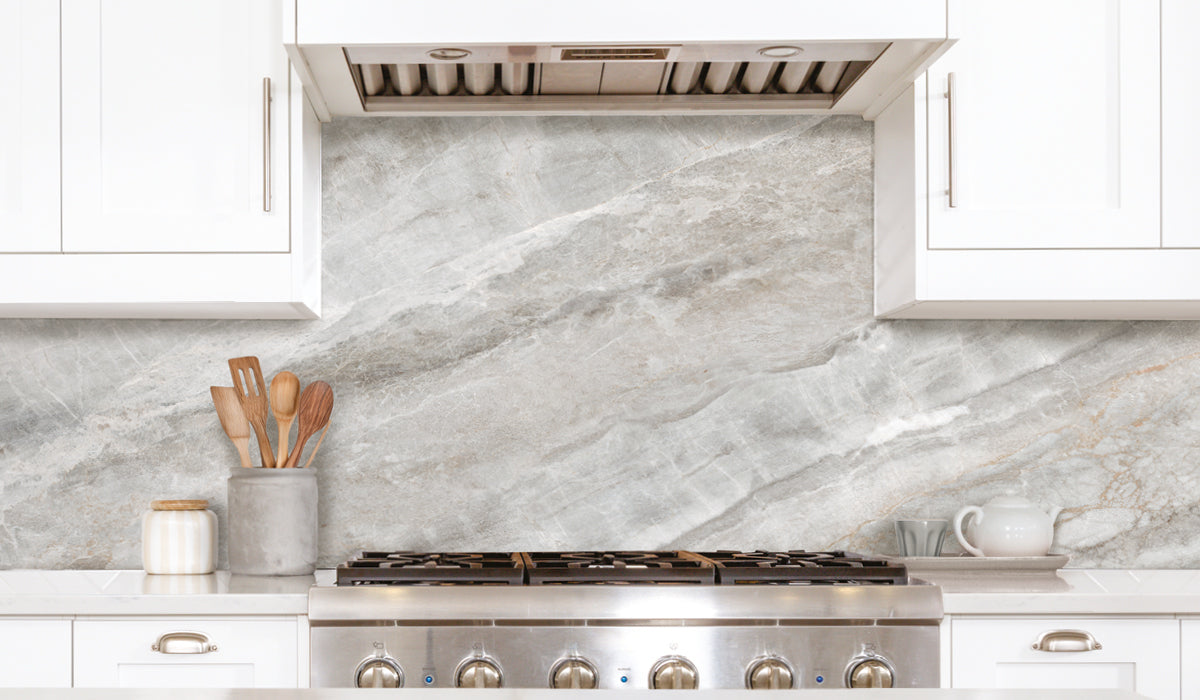
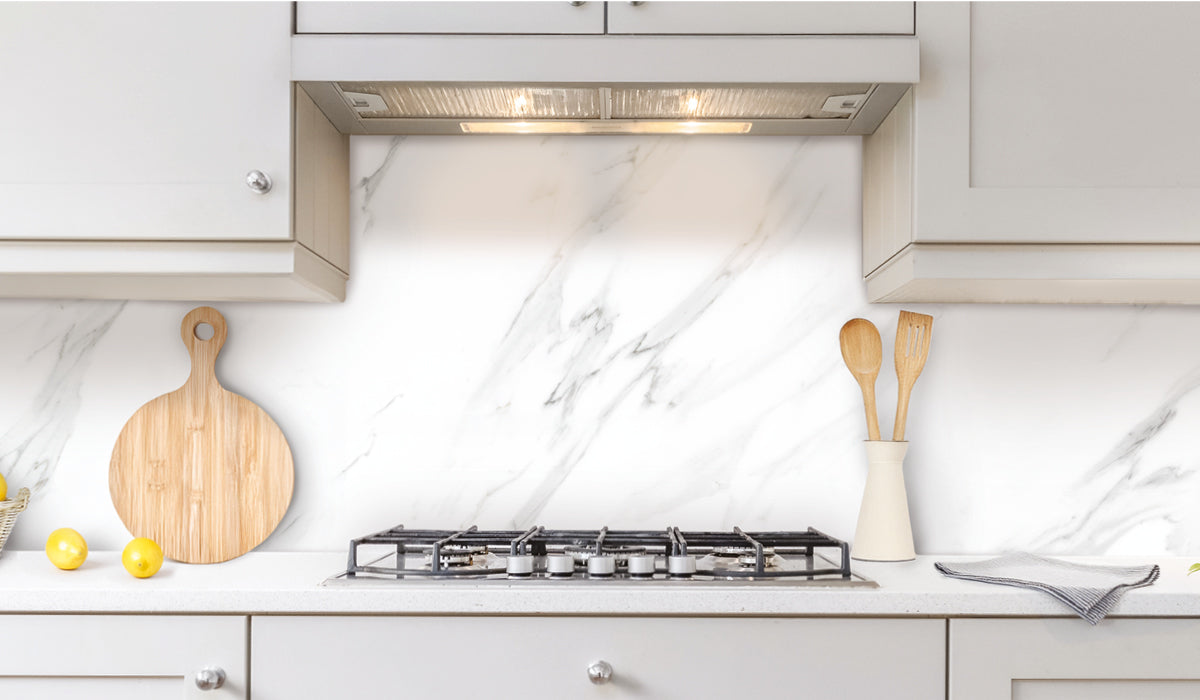
They come in a few classic marble looks — Statuario, Calacatta, and Orobico — each evoking different moods and styles.
-
Statuario: A clean, luminous white marble look with soft grey veins — timeless and versatile.
-
Calacatta: Warm, off-white background with gentle beige and grey lines — elegant with a touch of softness.
-
Orobico: A richer, layered look with cooler greys and hints of copper undertones — adds depth and character.

How to Choose the Right Panels for Your Space
-
Pick your panel style. Think about your kitchen (or bathroom, or accent wall) — is your palette crisp and white, warm and soft, or moody and rich? That’ll help narrow your marble look.
-
Decide your layout. Panels are sold individually (A, B, C types) or in kits (e.g. BCA, AB, CA, BC) so the pattern lines up seamlessly.
-
Mix & match thoughtfully. The kits are suggested to cover a standard stove + backsplash layout, but you can adjust as needed. Snap a photo or sketch your space, compare with kit options, or reach out to Smart Tiles for help.
The aim? A continuous, luxe-style backdrop that looks custom, but was affordable and achievable by you.
How Easy Is Installation, Really?
Turns out — pretty easy (especially compared to real stone). The general steps are:
-
Cut the panel pieces to your layout (to accommodate corners, outlets, etc.).
-
Glue them to your substrate (e.g. behind your stove or on drywall).
-
Stick the panels together — the aligned edges and matching pattern make it “flow” visually.
It takes minimal tools, and there’s no need for grout, heavy lifting, or messy tile work. The result is that “slab” look you’d otherwise only get with real marble.

Why You’ll Love It (Especially for a DIY Project)
-
Affordable elegance. Get the high-end marble slab aesthetic without paying for marble, hauling stone, sealing, or grouting.
-
Less mess, less labor. No dust from cutting stone, no mortar to mix, no grout to clean.
-
Fast transformation. In a weekend (or less), you can turn your backsplash into a showpiece.
-
Flexible design. Switch between panel styles or pair them cleverly — you’re in control of style.
-
Seamless beauty. The design is created to flow continuously, giving your eye a smooth, uninterrupted visual.
Your Next Step: Visualize & Plan
-
Take measurements and photos of your space — stove area, side walls, cabinetry heights.
-
Pick the marble style that sings to your vision (Statuario, Calacatta, Orobico).
-
Choose a kit or individual panels that best match your layout.
-
Get ready for the fun part: transforming your kitchen or space into something that looks custom, elegant, and completely your own.