


PANELS INSTALLATION GUIDE
Recommended Tools

Cutting mat

Utility knife

Ruler

Tape measure

Pencil

Gloves

Construction Adhesive

Spacers (optional)
Before You Begin
 FOLDED PANELS
Panels might be shipped folded for easier transportation and storage. This does not affect their quality.
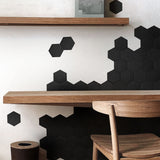
 VISUAL MARKERS
Each panel comes with stickers marked with letters and shapes to help with alignment and ensure a seamless design. Do not remove them before installation.
 ADHESIVE
We recommend using a construction adhesive, preferably water-based or silicone-based (such as PVI). Always read and carefully follow the manufacturer’s instructions to ensure a safe and durable installation.
Assembly Verification

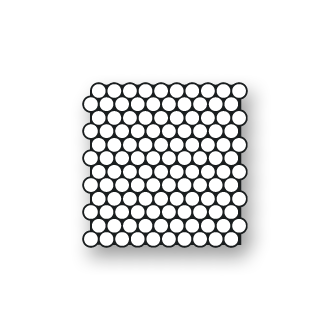
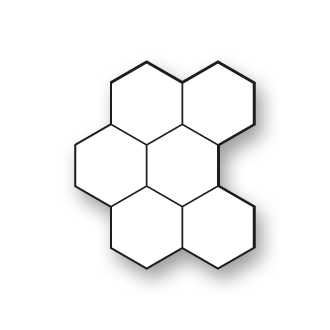
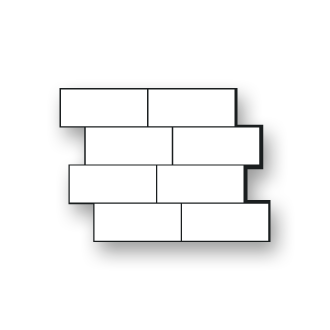
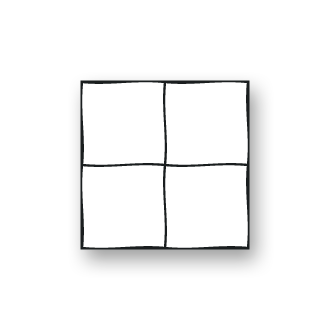
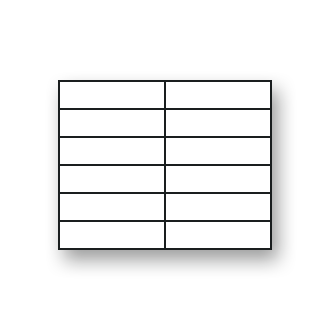
Each panel features a geometric shape (circle, square, or triangle). Identical shapes must be placed side by side to ensure continuity of the design between panels. It is therefore essential to use these markers as a guide during installation. The arrow always indicates the direction of installation. It’s important to determine in advance, by referring to the images below, which side of the panels can be cut ba

Installation of BCA KIT

Installation of ABC KIT

Installation of CAB KIT

Installation of AB KIT

Installation of BC KIT

Installation of CA KIT

Installation of a SINGLE A, B or C Panel
Installation

1. Measure the required dimension for installing your backsplash. Depending on your setup, determine which side(s) the panels can be cut. Before cutting, make sure the geometric shapes are arranged correctly to maintain the continuity of the design.

2. If your setup includes a C panel, be sure to start with it. Mark the cutting line with a pencil on the back of the panel. It is essential to always cut from the back to ensure a clean, precise cut

3. Make the first notch SLOWLY. Then, make progressive cuts (3–4 passes) until the panel is completely cut through.

4. Test the panel fit before applying the adhesive.

5. Apply the adhesive 1 inch (2.5 cm) from the edge all around the back of the panel. Then, draw a zig-zag pattern in the center for optimal adhesion

6. Place the panel, aligning the geometric shapes of the pattern.

7. Press the panels inward at the joints to ensure good adhesion between them. Apply firm pressure over the entire surface for 1 minute.

8. Clean any excess adhesive immediately before it dries. Please refer to your construction adhesive instructions for the full drying time.
Additional Tips

3.a Ensure that the power is turned off in your work area.Unscrew the wall plate covering the electrical outlet. Measure and precisely mark the area to be cut on the back of the panel.

3.b Cut the panel following the instructions on page 3. Make sure the outlet cover plate will fully cover the edges of the panel for a clean finish.

3.c Add a spacer (a) behind your electrical outlet. Reattach the cover plate after installing the panel.

For a clean finish and moisture protection, apply a bead of latex caulk around edges. If you used a white adhesive like No More Nails or UniBond, it can double as a finishing caulk.

A small gap in the corners is normal. You can overlap panels slightly to avoid visible gaps, especially on uneven surfaces.
Find the Installation Guide: Here
Video tips

How to Install – Panels