


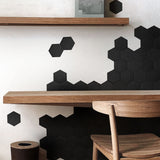
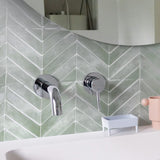
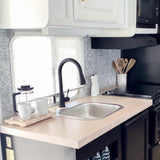
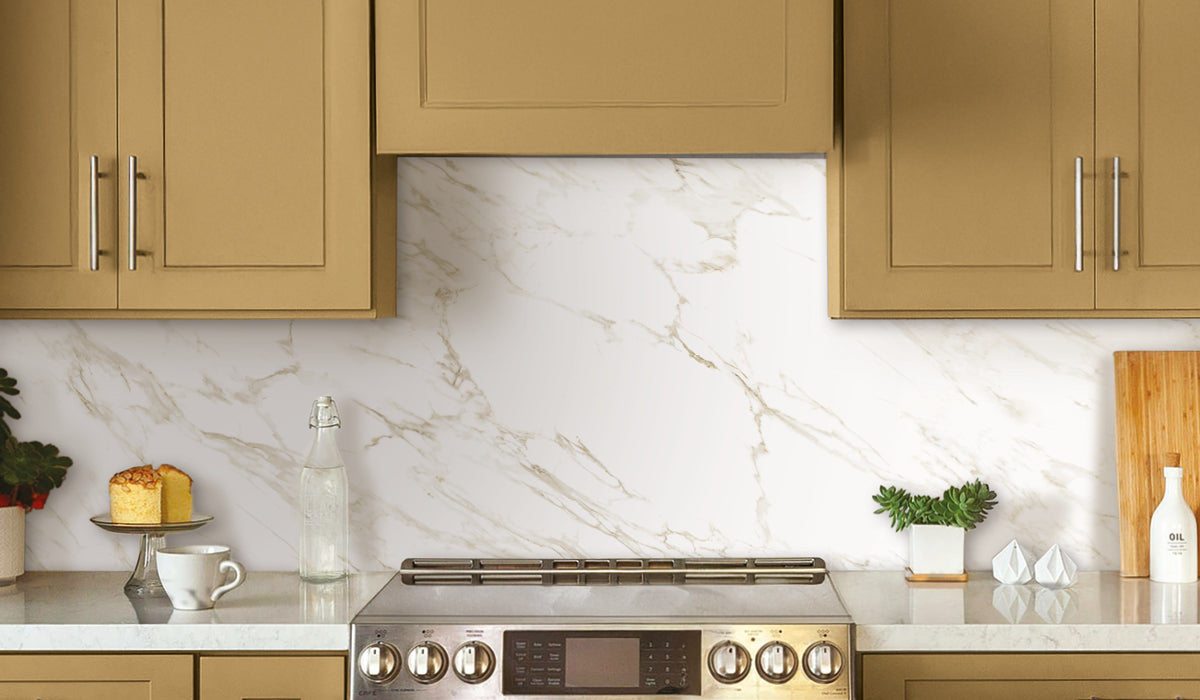
GUIDE D'INSTALLATION PENNY
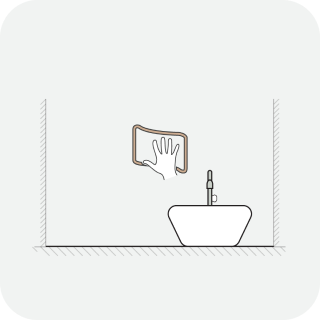
1. Nettoyez toute la surface avec un dégraissant tel que le TSP (phosphate trisodique). Il est déconseillé d'utiliser du liquide à vaisselle pour laver les murs.
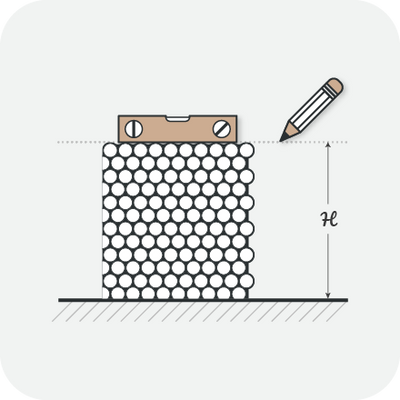
2. Marquez votre mur avec une ligne nivelée à la hauteur de la première rangée de tuiles pour indiquer où le haut de votre tuile s'alignera.

3. Sur la première tuile de la rangée, découpez l’excédent gauche à l’aide d’une lame de précision.
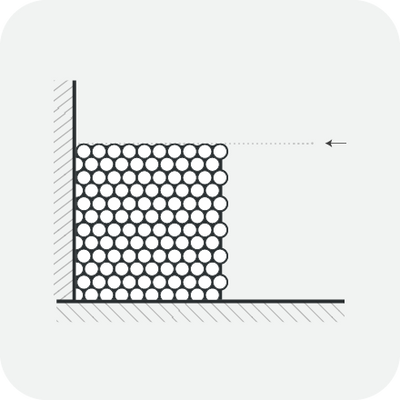
4. Retirez le film de protection à l’arrière de votre tuile et appliquez sur votre mur en vous aidant du guide.
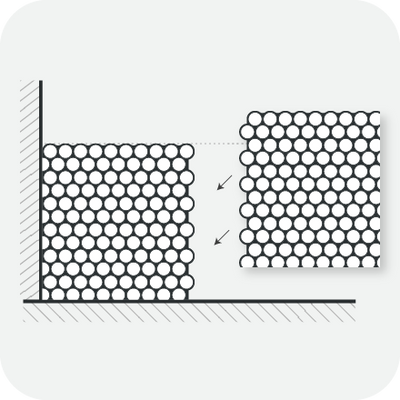
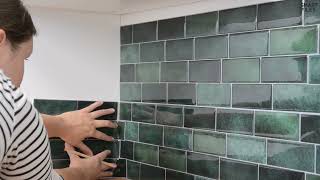
5. Appliquez les autres tuiles l’une après l’autre en tachant de bien aligner vos tuiles, motifs et coulis.
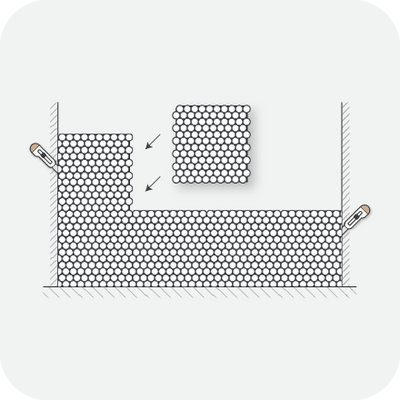
6. Répétez le processus pour l’ensemble du mur en retirant les extrémités en début et fin de rangées.
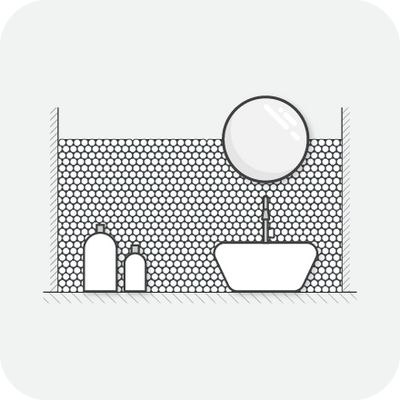
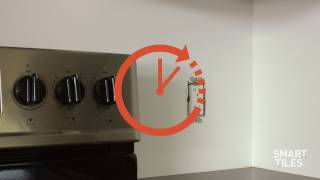
7. Après 48 heures, vos Smart Tiles sont désormais appliquées de façon permanente sur votre mur. Vous n'avez plus qu'à profiter de votre nouveau décor!
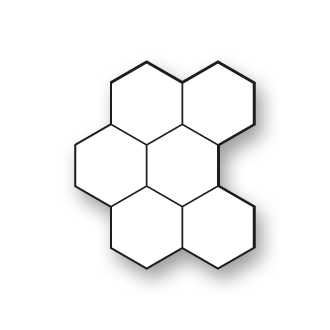
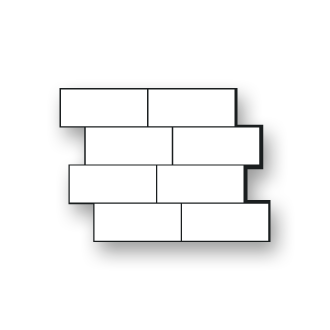
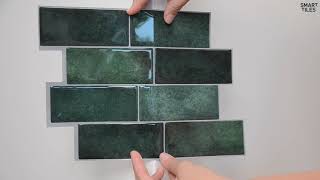
Note : Les lettres/chiffres imprimés sur les Smart Tiles sont uniquement destinés à des fins de production. Pour déterminer le motif souhaité de vos Smart Tiles, nous recommandons de disposer les carreaux sur votre plan de travail avant de les installer sur le mur. Lorsque vous alignez vos carreaux, veillez à faire chevaucher les lettres/chiffres le long des lignes de joint pour vous assurer qu'ils ne soient pas visibles.
À propos de notre Adhésif Smart : Notre technologie adhésive ne semble pas coller suffisamment? C'est tout simplement parce qu'il a été pensé pour ne pas coller à votre peau ! Nous l'avons conçu pour vous permettre de repositionner les tuiles lors de l'installation et qu'il se fixe définitivement au mur dans les 48 heures après avoir été collé sur la surface. Dans la mesure du possible, évitez de toucher l'adhésif avec vos doigts pendant la pose, appuyez fermement une fois que la tuile est au bon endroit et vous serez prêt pour des années de satisfaction avec votre nouveau décor !
Astuces vidéos
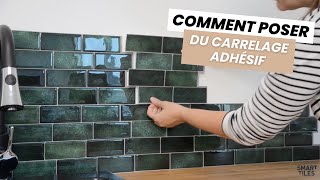
Comment poser du carrelage mural adhésif
Comment nettoyer son mur avant la pose des Smart Tiles
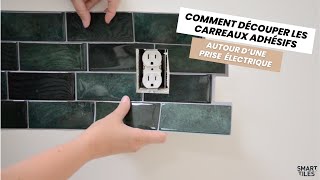
Comment découper les Smart Tiles pour poser sur le contour d'une prise électrique
Comment poser les Smart Tiles sur un mur avec un angle convexe
Comment poser les Smart Tiles sur un mur avec un angle concave
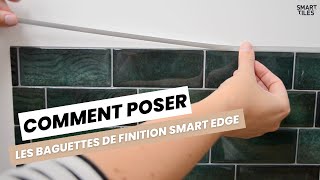
Comment poser les baguettes de finition Smart Edge
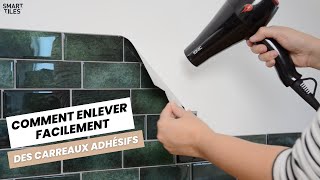
Comment enlever les Smart Tiles
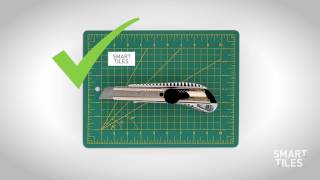
Outils recommandés pour la pose des Smart Tiles
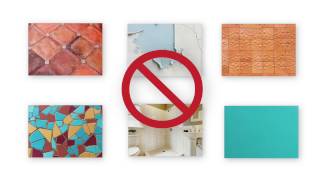
Quelles sont les surfaces idéales pour poser les Smart Tiles